WordPress on Amazon Web Services (AWS) has gotten extremely popular as of late thanks to its simple setup, flexible pricing, and speedy performance. Lightsail is the perfect platform for a new user looking to install WordPress on AWS.
Why WordPress?
In this tutorial, we will guide you through launching, configuring, and logging into a WordPress instance via Amazon Lightsail. AWS free WordPress hosting is a great way to sharpen your skills while on a budget. Lightsail allows you to automatically install WordPress on AWS, making it much easier to launch and host a new WordPress website.
By the end, you will have a fully functional WordPress website hosted in AWS as well as the skill set to get your WordPress site off the ground and start creating new content.
Guide
- Register for a free AWS account
- Create a WordPress instance in Amazon Lightsail
- SSH to your new instance to retrieve WordPress credentials
- Login to the WordPress dashboard
- Create a Static IP address for your instance
- Attach the Static IP address to your instance
- Create a DNS zone in Lightsail and point your domain at your instance
- Enjoy WordPress hosting in AWS!
Register for a free AWS account
In order to use AWS, you need to first register for an account
- If you already have an account, you can sign in here
Create a WordPress instance in Amazon Lightsail
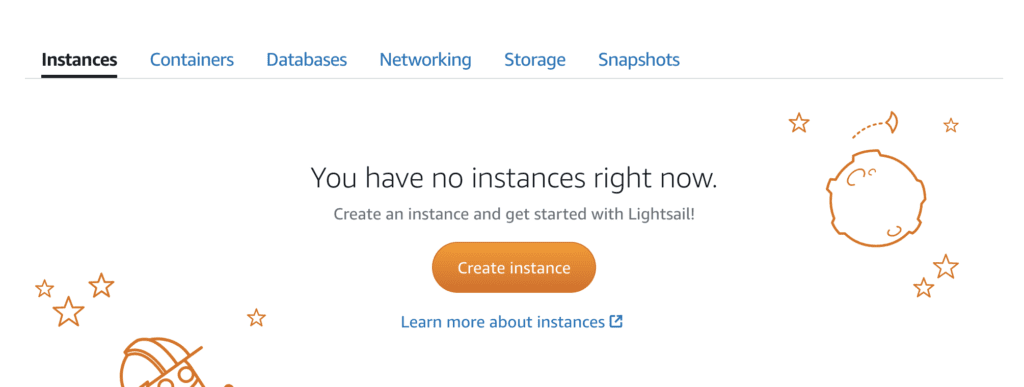
From the AWS console, search for Lightsail and select it. Then, from the Lightsail dashboard, select “Create instance”.
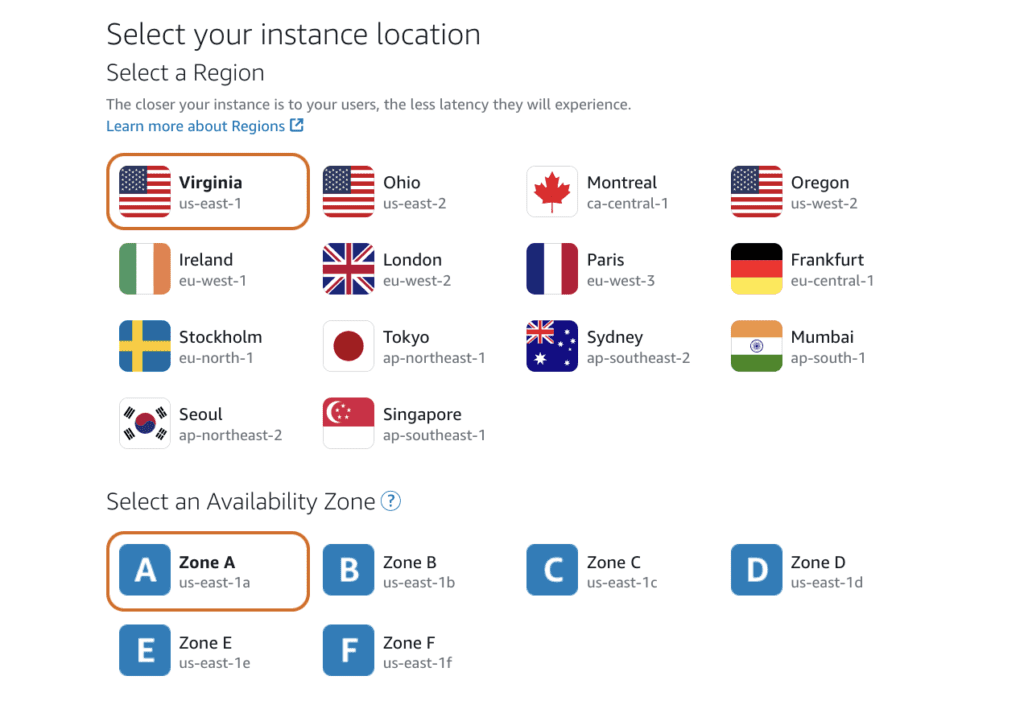
Choose your region and availability zone. It is typically best to choose the region closest to you and your traffic. Regions and availability zones also have slightly varied costs based on which you select.
The cost of AWS WordPress with Lightsail typically starts from $5-80 a month.
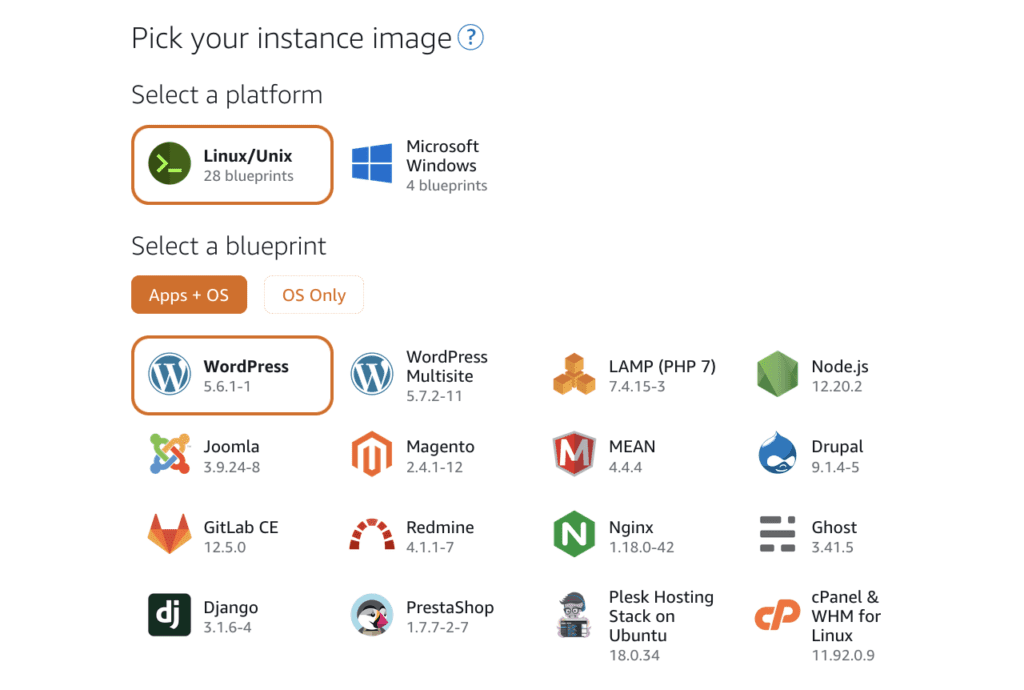
Next, select your platform version and blueprint. For this tutorial, we will be using Linux/Unix for our platform and WordPress for our blueprint.
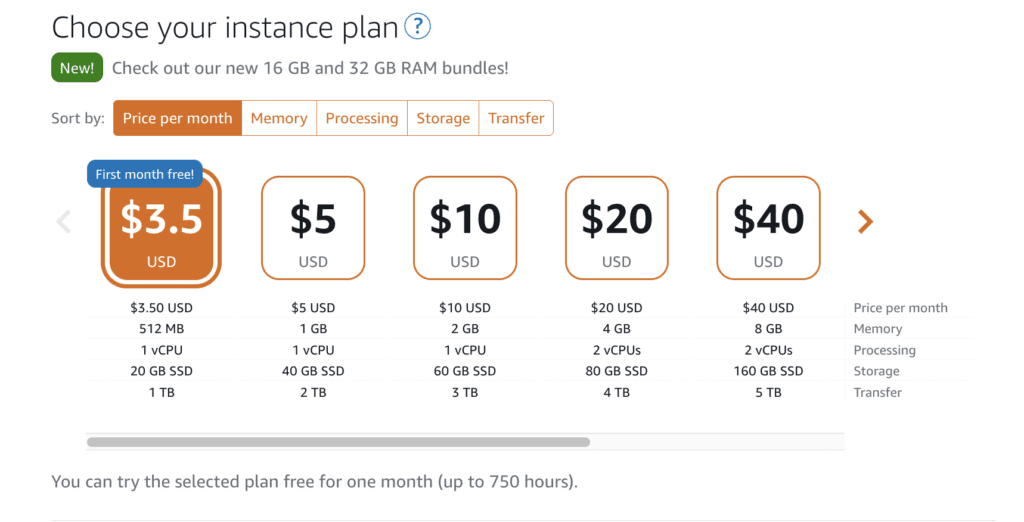
Once you have chosen your preferred platform and blueprint, continue scrolling down until you arrive at instance pricing. For this tutorial we will be using the $3.50 plan. This plan is not only cheap, but it includes 750 free hours of runtime per instance every month. This instance size should also be sufficient for most common WordPress sites.
Once you have selected your plan, continue on to give your new instance a name. This name will not affect your WordPress website, it will simply allow you to help keep track of your instances.
We recommend naming it after your domain along with the date it was created so that you can easily keep track of multiple instances/versions if necessary. (ie. lyonswebsolutions-1006)
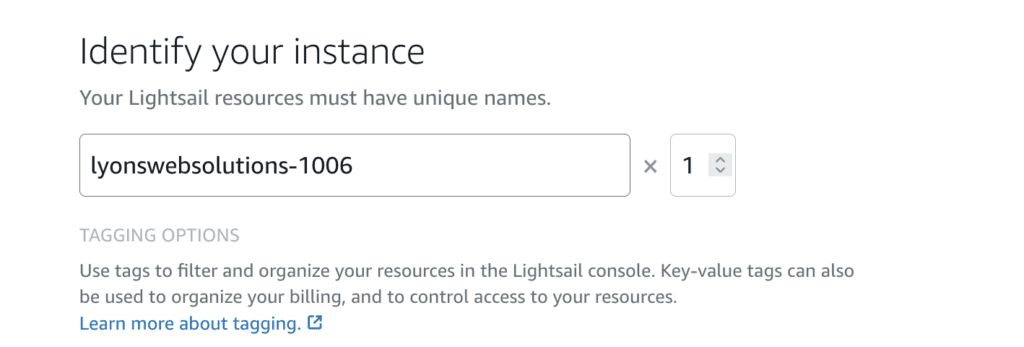
After your instance has been named, you can select “Create instance” at the bottom of the page. AWS will now begin to initialize and launch your new WordPress instance.

SSH to your new instance to retrieve WordPress credentials
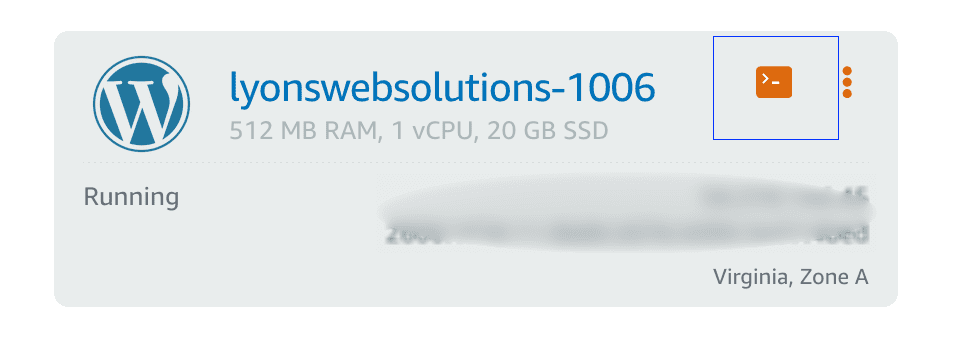
Now that your instance is created and running, it is time to SSH to the box and retrieve your WordPress login credentials.
From the Lightsail console, select the SSH connect icon next to your instance
A browser window will open and connect you to you instance. Once you are connected, paste the following command:
cat $HOME/bitnami_application_passwordThe output of this command will be your username and password for the WordPress dashboard. Keep this information handy.
Login to WordPress dashboard
First, note your instances public IP address. This number can be found just below the SSH connect icon we used earlier.
In your browser, navigate to the following address:
http://{{YourPublicIpAddress}}/wp-login.phpBe sure to replace {{YourPublicIpAddress}} with your actual address. For example:
http://54.123.321.55/wp-login.phpOnce you have navigated to the above address in your browser, you are now ready to login to WordPress. Remember those credentials from earlier? This is where we are going to use them.
username: user
password: your noted value
Once you have filled in your information, press the Log In button. Technically speaking, you are done! You now have full administrative access to your WordPress site and can do anything you like. However, if you are planning to associate this website with a domain, we recommend reading on.
Create a Static IP address for your instance
In order to associate your instance with your domain, you need to register the IP address of the instance in a DNS record.
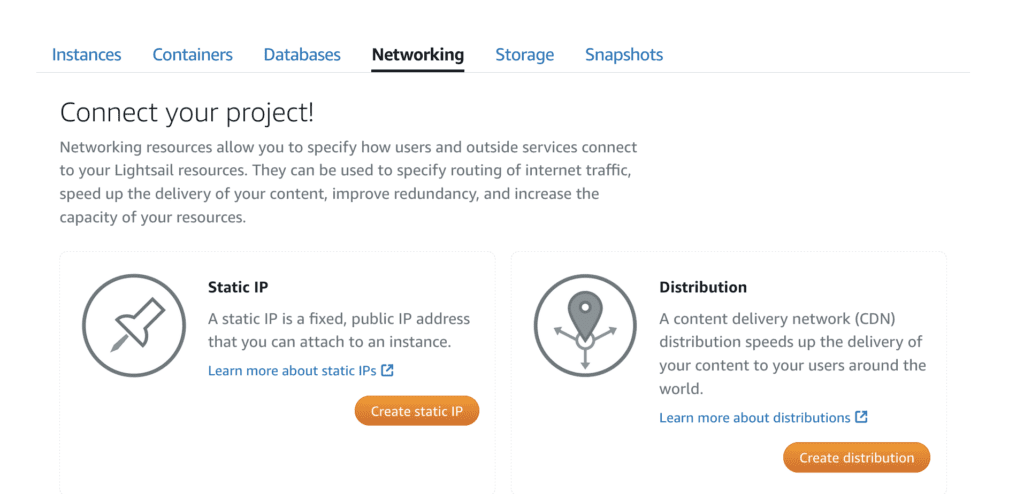
One issue with this is that instances IP addresses change every single time they restart. In order to avoid constantly updating DNS records and causing downtime, we can assign the instance a static IP address that will never change – even after reboots.
To create a static IP for your instance, first select the networking tab from the Lightsail dashboard. Next, select Create Static IP.
Attach the Static IP address to your instance
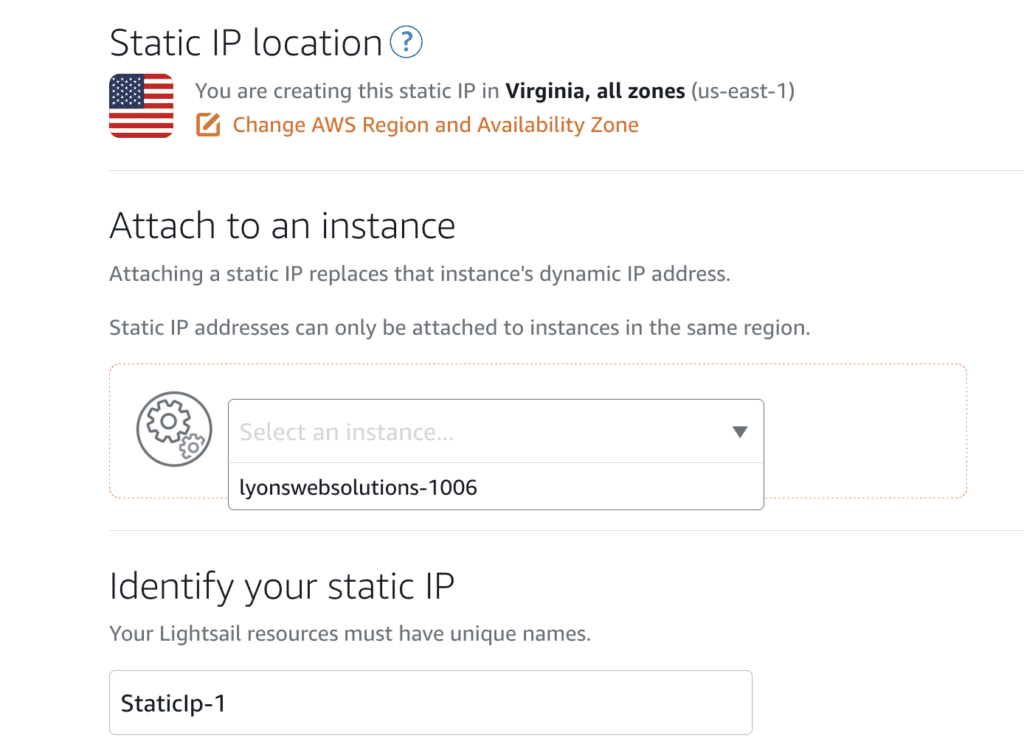
Identify your Static IP’s location (preferably in the same place as your instance), give it a name, and attach it to your new instance.
Create a DNS zone in Lightsail and point your domain at your instance
Now that your instance and static IP address are set up, you can now begin configuring your domain to point at your new instance.
In the networking tab of the Lightsail dashboard select Create DNS zone.

Next, enter the domain that you own and create the zone. Make sure to take note of the name server addresses that are listed.
In the DNS you just created, select Add record.
In the Subdomain box, use the @ symbol to map your domain (ie. example.com) to your instance. Lastly, choose to have this record point to your static IP address and click save.
Now just give the records a couple of minutes to update and you will be able to visit your site using your own domain!
Interested in AWS WooCommerce Hosting? Check out our WooCommerce breakdown.
Enjoy WordPress hosting in AWS!
Congratulations, you are done! You now know how to create a WordPress instance in Amazon Lightsail and set up your DNS.
WordPress hosting in AWS is truly a great way to experience all that the platform has to offer, while still keeping costs to a minimum.