If you still need to set up a Bitnami instance in Amazon Lightsail, learn how to get started for free.
Introduction
Learning how to install an SSL certificate for a Bitnami Lightsail instance is an integral part of setting up your WordPress website.
You may be wondering, why do I need an SSL certificate? SSL certificates are a crucial part of maintaining website security and ensuring data integrity when transmitting information. Even if your website is not handling sensitive user data, such as credit card information, it is still important to secure your website.
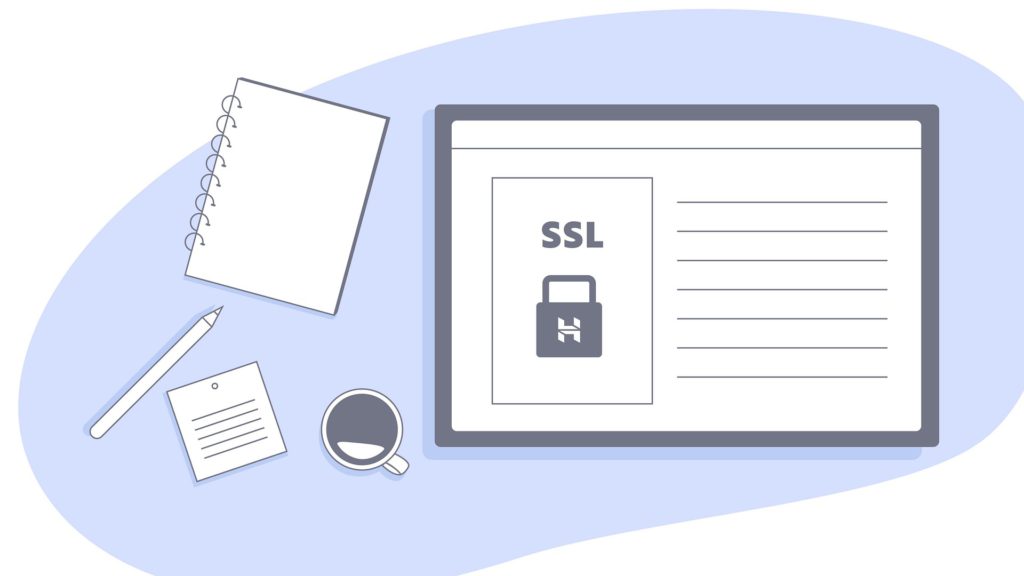
SSL is a type of security standard that can be used to encrypt an internet connection. It ensures that no information is visible to criminals or hackers, and any sensitive data sent between two systems is safeguarded. If you want to learn more about why SSL is preferred, check out this article.
Guide
Today we will be configuring Bitnami WordPress SSL by installing a Let’s Encrypt SSL Certificate on our Bitnami WordPress Instance in Amazon Lightsail.

If you still need to set up a Bitnami instance in Amazon Lightsail, follow this guide first.
Step one: SSH to the Instance
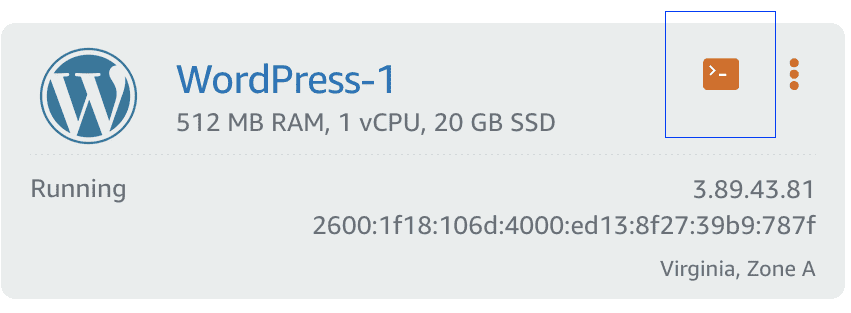
First off, we will need to SSH to our instance. Head to the Lightsail console and find the instance you would like to generate a certificate for.
Click the orange terminal box that is located next to your instance’s name to open a new SSH session.
Now that you are logged on to your instance, it is time to generate the SSL certificate.
Step two: Run the Bitnami Certificate Tool
Simply run the following command to generate your certificate
sudo /opt/bitnami/bncert-toolEnter your domain information, redirect preferences, and your email address when prompted, and the Bitnami Certificate tool will do the rest.
For a more detailed overview of what the Bitnami certificate tool will actually be doing while you run it, read on:
Step three: Generating the SSL Certificate
- First, the Bitnami certificate tool checks in all of the default configuration directories to ensure that your files exist in the right place and the process will go smoothly. The default directory the script will be searching in is /opt/bitnami.
- Once the certificate tool identifies your installation, the tool will check to see if it has any updates and prompt you on whether or not you would like to install them. We recommend downloading the latest version if prompted.
- The next step will require you to enter the domain names of your website for which you want this certificate to secure.
- For example: lyonswebsolutions.com www.lyonswebsolutions.com
- Next, you have the option to either enable or disable certain redirections for your website. Choose the options you wish to proceed with by choosing yes or no with your keyboard. After you have selected your options, the tool will ask you if you want to accept the changes it will make – accept the changes when prompted.
- Once you have set up your redirections, the tool will prompt you for your email address so it can notify you when your certificate is going to expire. You will also be asked to agree to the Let’s Encrypt Terms of Service.
- Lastly, the Bitnami Certificate tool will generate your websites new SSL certificate. Once the tool is finished, you will have a valid and working HTTPS certificate.
You are done! You now know how to install an SSL certificate for a Bitnami Lightsail instance!